When I was thirteen I made a pot during my art lessons, and my teacher liked it. Since that time I have always fancied myself as a bit of a potter, and programmes like the Great Pottery Throwdown just fuelled my ambition. Although I hadn't touched a lump of clay for about forty four years, this year just felt right to get on with the aim of becoming potter Wendy.
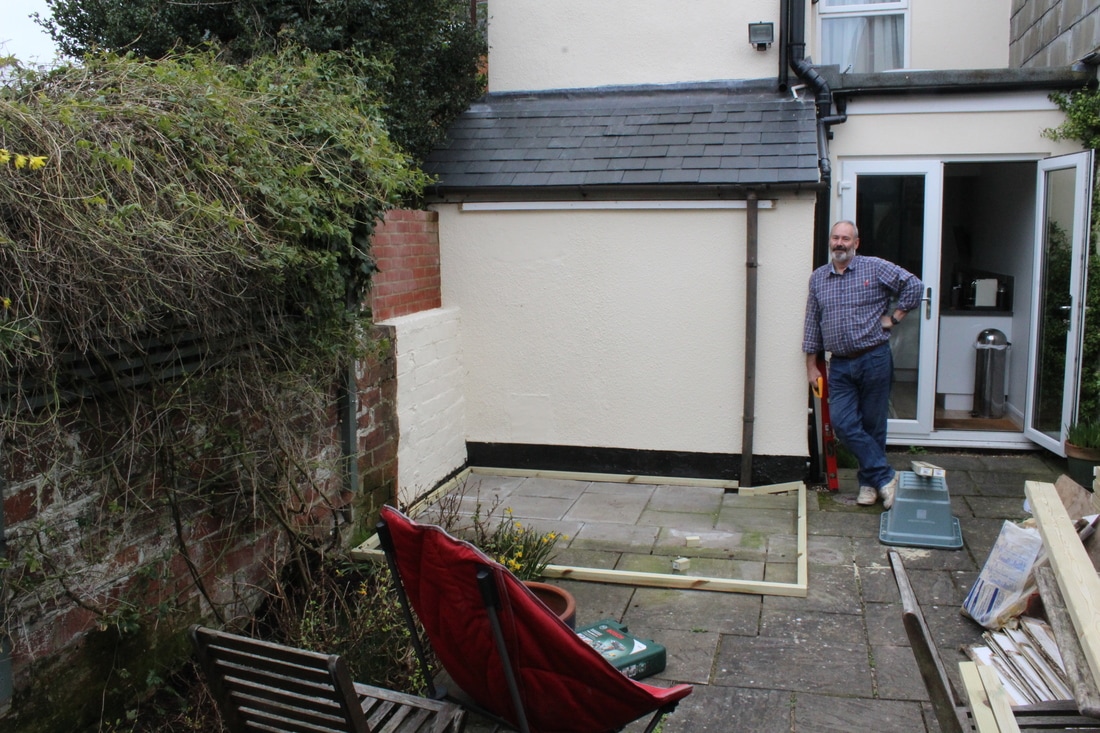
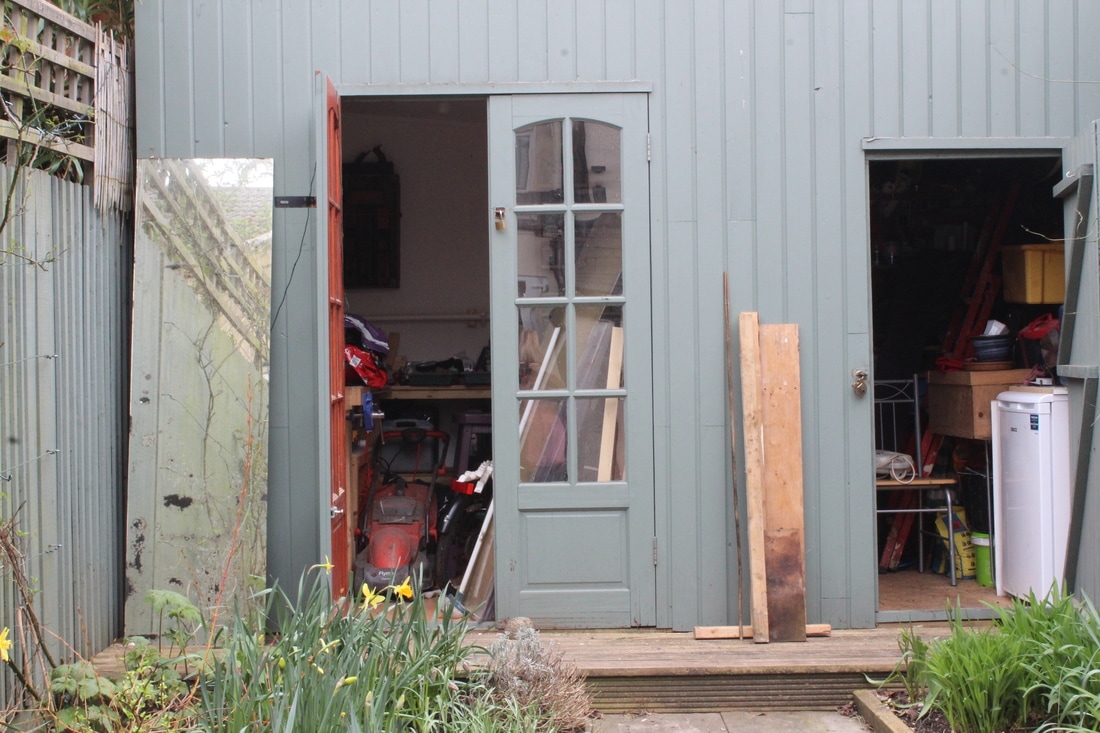
I am truly fortunate to be married to someone who can make my dreams come true; because setting up a pottery studio is not that simple. The first thing we did was to have two hours tuition on the wheel with a lovely lady called Melissa, who runs Perfectly Potty just by Marwell zoo. So, feeling totally confident in our abilities to be potters Christopher launched himself into converting one of our sheds into a studio. This entailed building a completely new shed to put everything in that was in the old shed.
I am truly fortunate to be married to someone who can make my dreams come true; because setting up a pottery studio is not that simple. The first thing we did was to have two hours tuition on the wheel with a lovely lady called Melissa, who runs Perfectly Potty just by Marwell zoo. So, feeling totally confident in our abilities to be potters Christopher launched himself into converting one of our sheds into a studio. This entailed building a completely new shed to put everything in that was in the old shed.
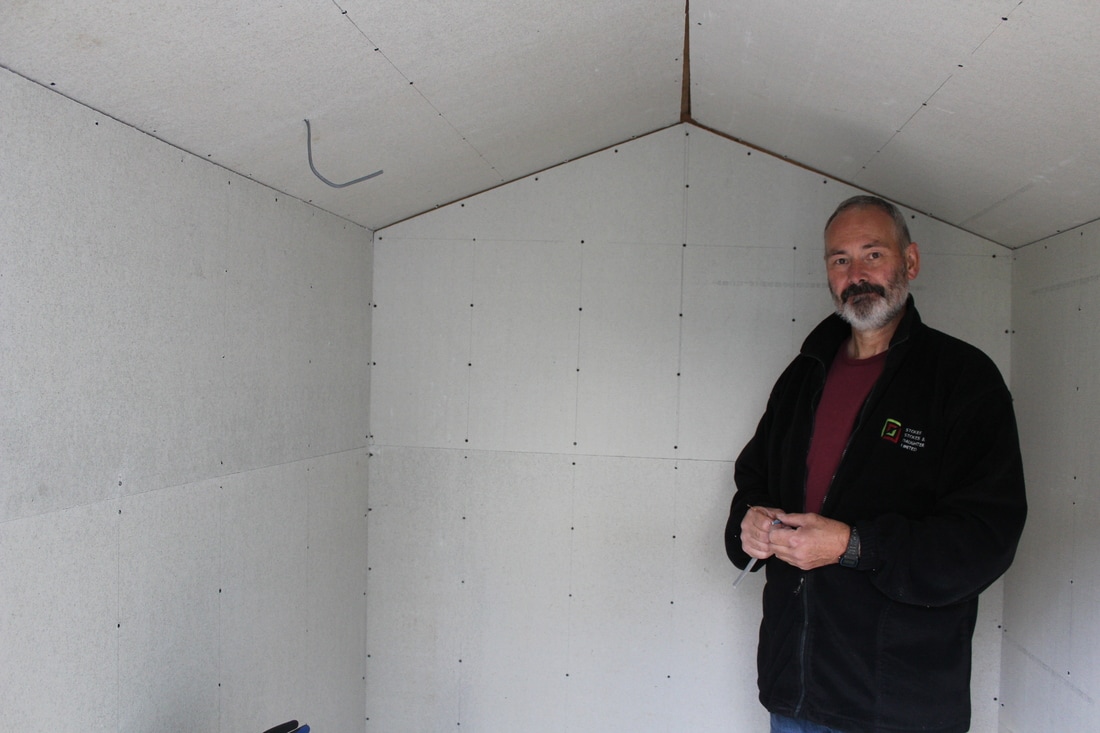
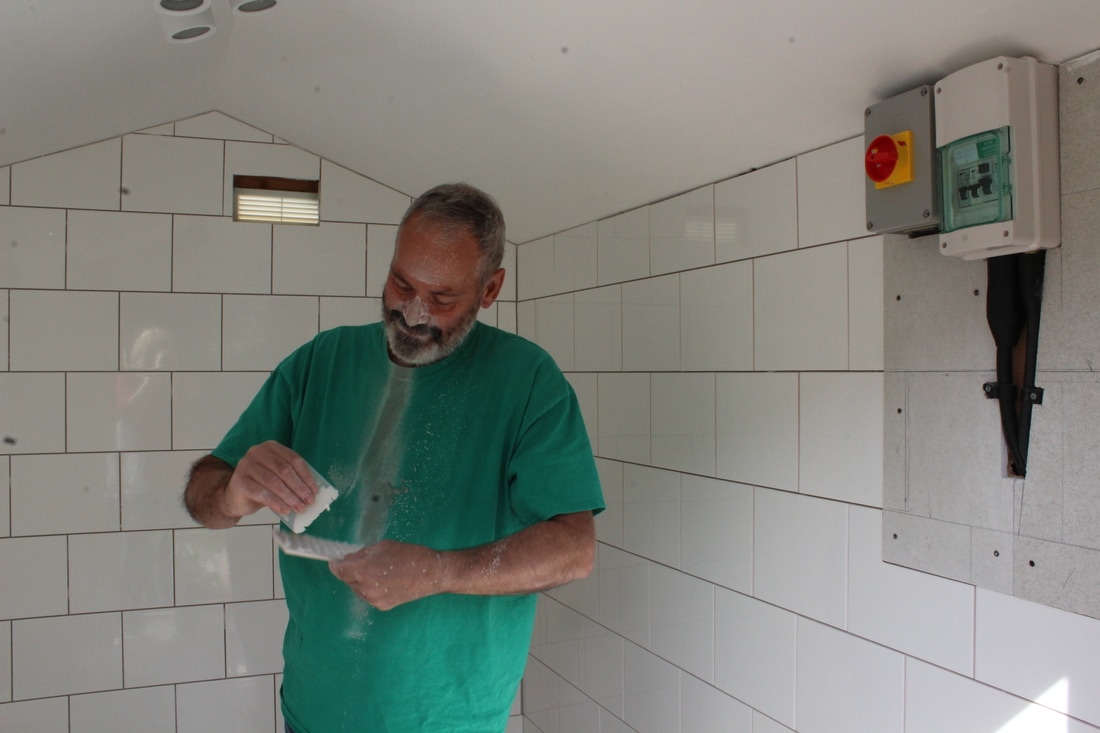
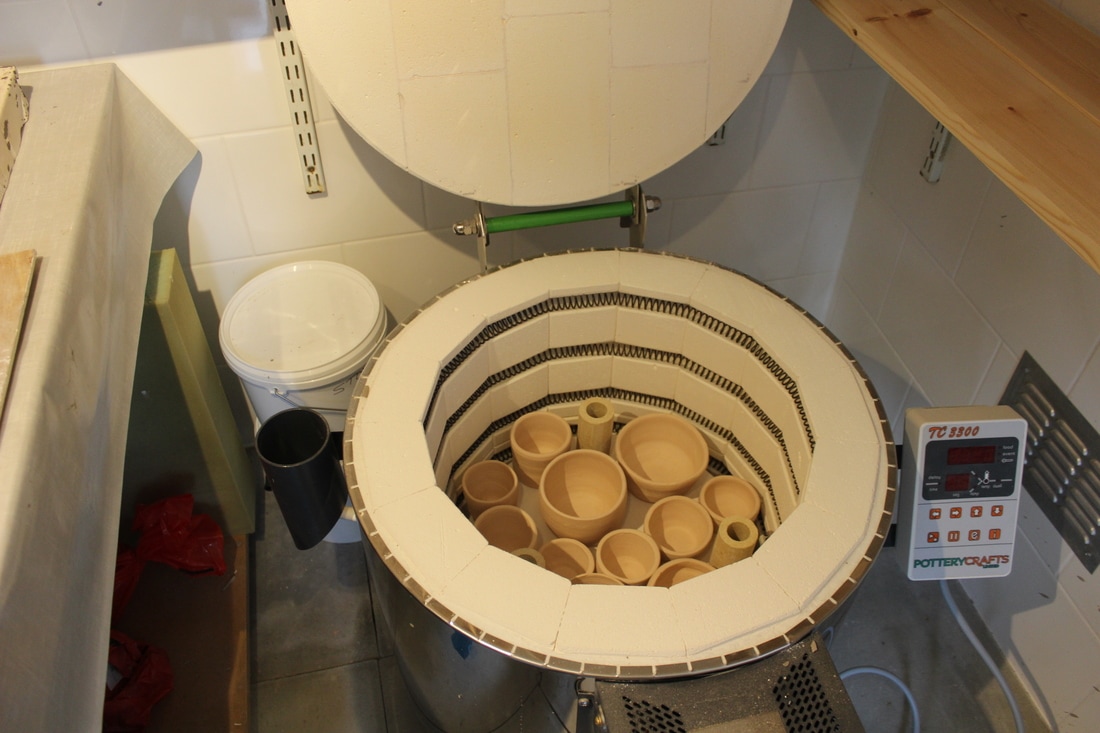
While the shed was being built I considered the question of what kiln we needed. This involved doing some research on youtube for about five minutes, and realising that kilns can be very complicated indeed. Fortunately Melissa had told us where she got her supplies from - Pottery Ceramic Services in Fordingbridge; so we paid them a visit. They were extremely helpful, and the choosing of the kiln became very easy. However, they explained that we would need to fireproof our studio and have a 45 Amp electricity supply. Nothing daunts Christopher and he took these new developments completely in his stride. Here he is fireproofing and tiling:
We got an electrician to put in the electricity supply for us, and brought home the kiln.
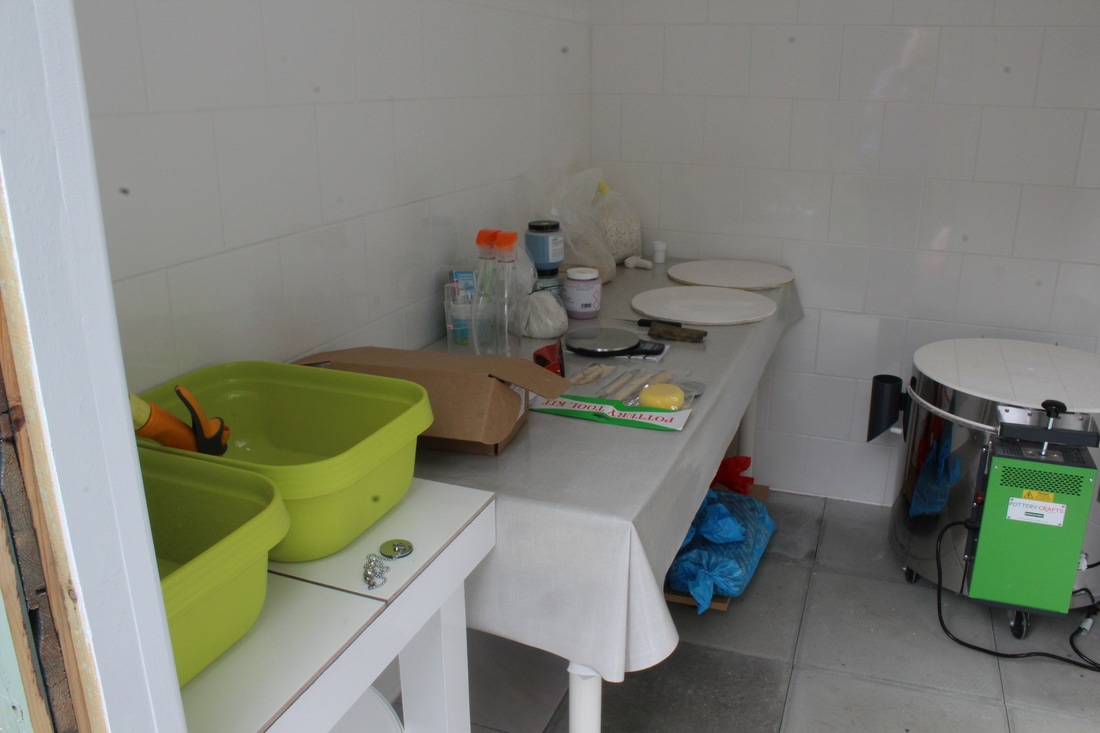
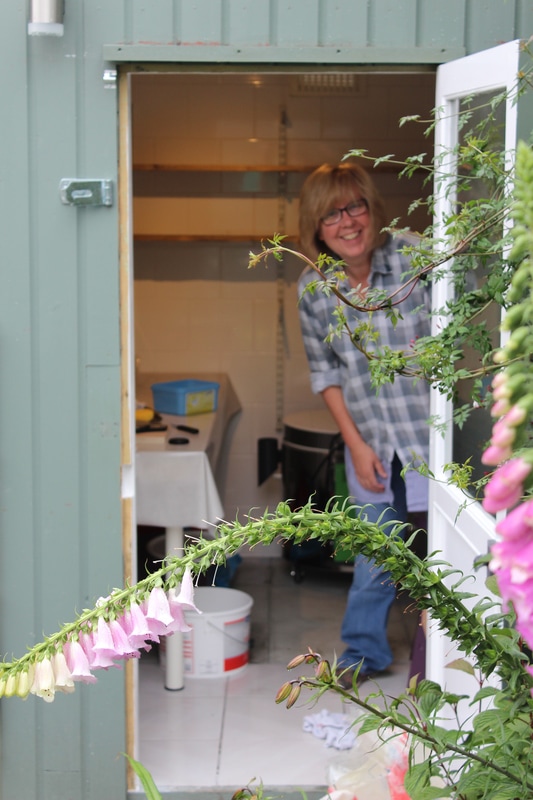
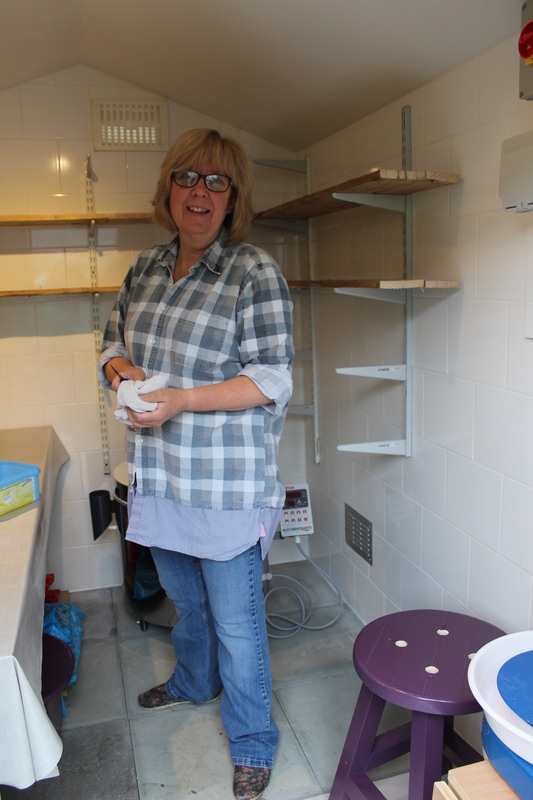
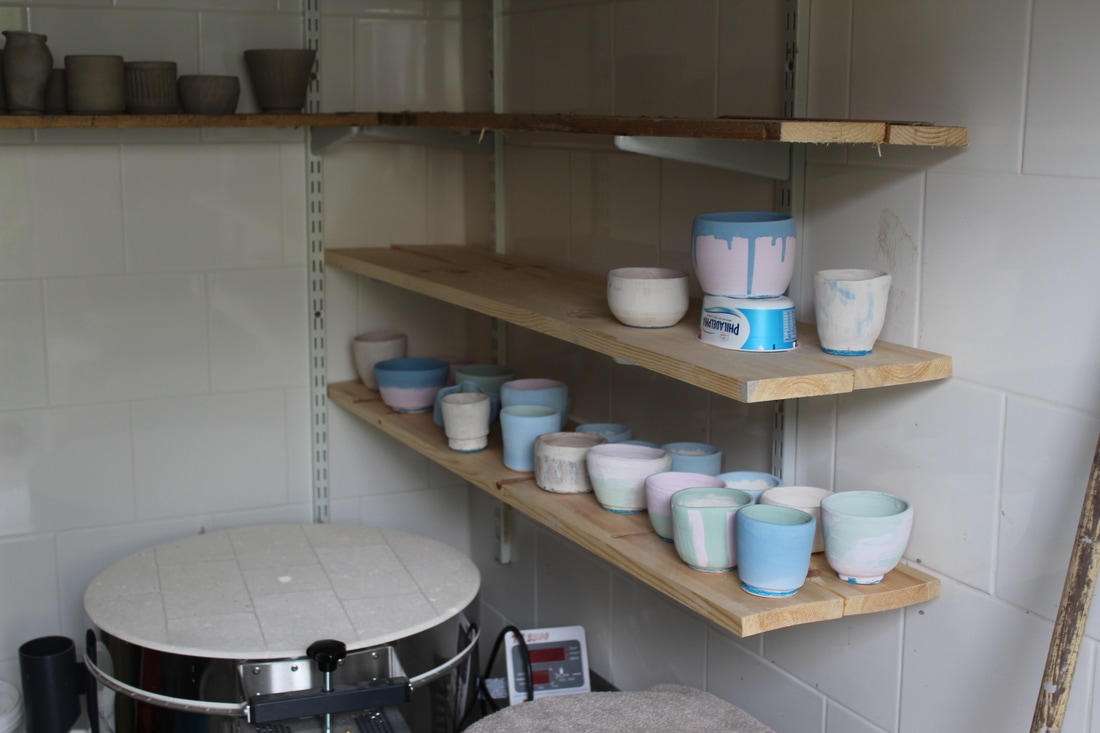
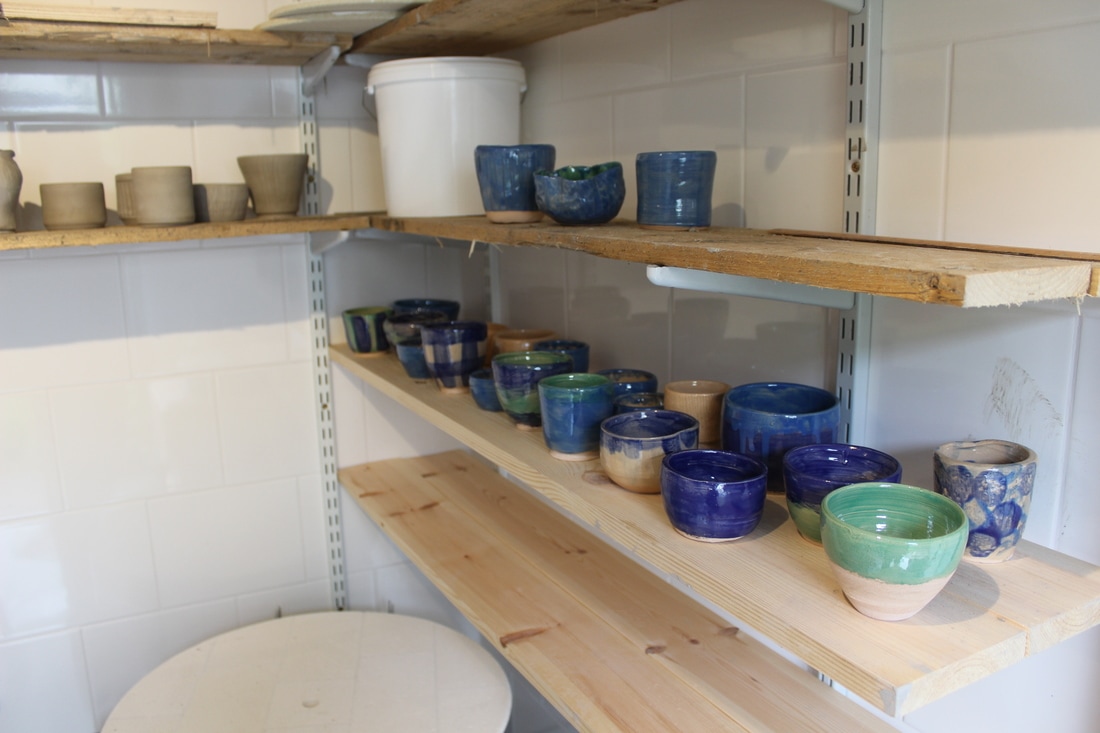
It is truly surprising what can be fitted into an 8' by 6' shed. There are two sinks with running water, a work table, a kiln, a wheel, and numerous shelves. So after several weeks very hard work on the part of Christopher I had an all singing all dancing pottery studio. The day dawned when the first pots would be thrown; I dressed in my potters smock, and set forth with great optimism and enthusiasm.
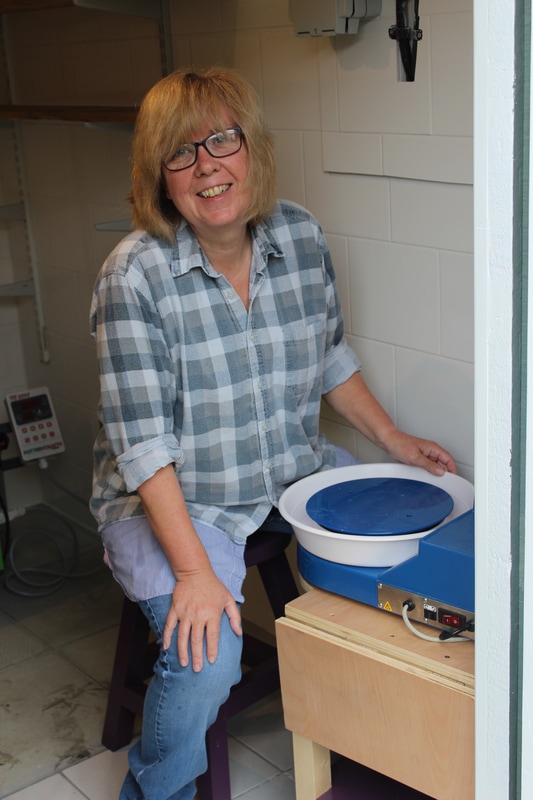
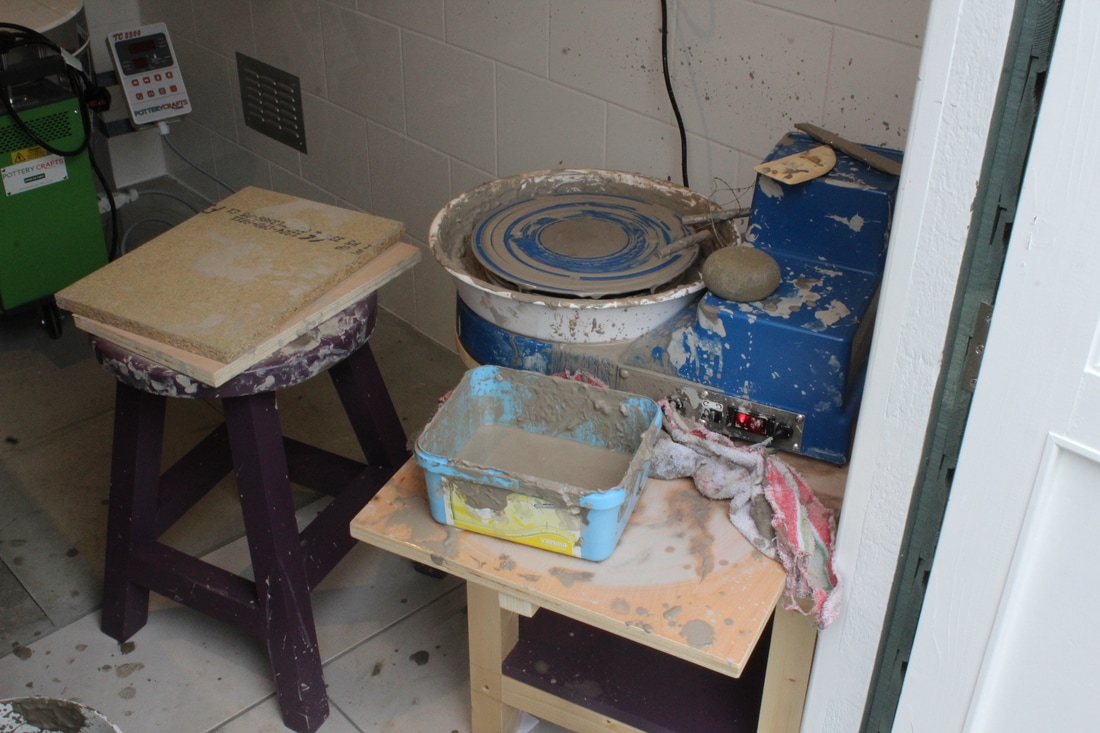
I soon came across two small problems: I had no idea how to throw a pot. That might seem like one problem to you, but I think its worth mentioning twice - I had no idea how to throw a pot. Strangely, watching a few youtube videos is not the same as having several years tuition. After day one my beautiful studio looked like this:
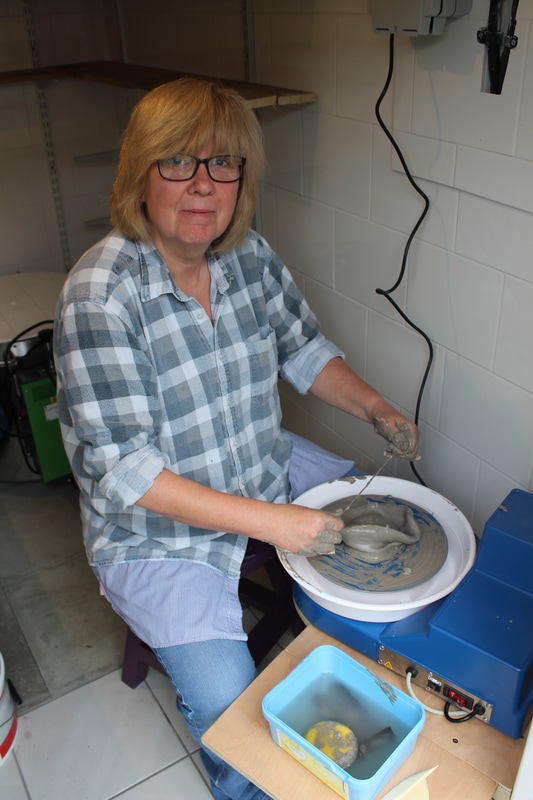
The thing is, despite not knowing what I was doing at all I still managed to produce some things that could be called pots, if you didn't look too closely, or preferably, didn't look at them at all.
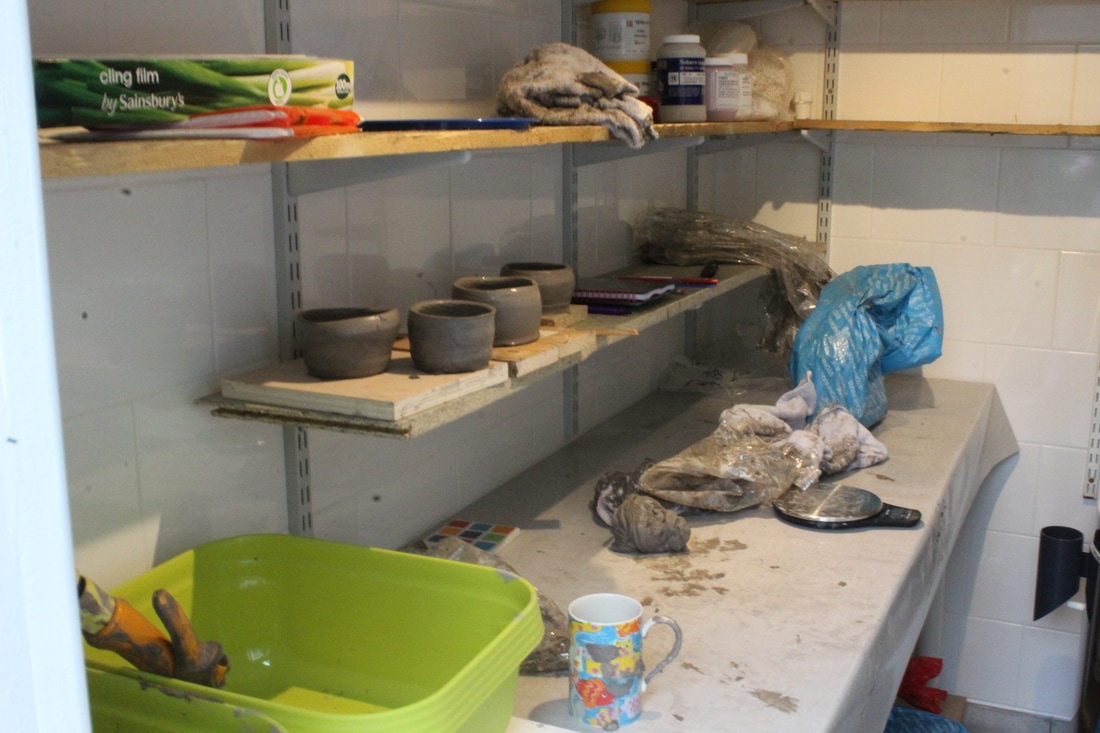
I decided that it would be a good idea to have lessons, and signed on to Introduction to Ceramics at Totton College. This is a great course with just two minor problems: they don't have a wheel. I know that's only one problem, but it is worth repeating - they don't have a wheel. Tim the teacher explained that they used to have a wheel, but the students kept giving themselves friction burns on it, and injuring their ankles. However, the course is really fun and hand building is a very satisfying part of ceramics, as well as being much more controllable than the wheel. I have actually made some dishes that I don't mind looking at
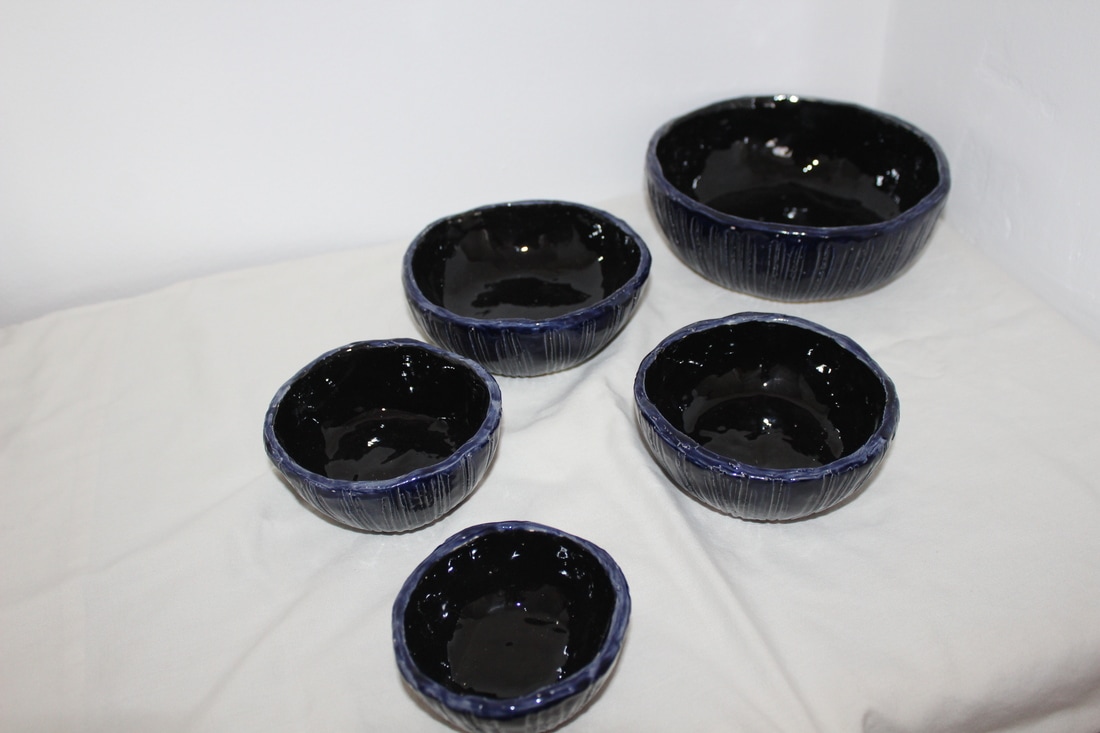
The brilliant thing about clay is that if you make several hundred mistakes it doesn't matter, because everything can be recycled. So I keep practising using the wheel and throw most of my efforts in the recycle bin. But we wanted to use the kiln and do some glazing, so we kept some of our first efforts and fired them. Being a potter requires that you really keep to the principle of deferred gratification because everything takes a long time. The first thing that has to happen is that the pots have to be biscuit fired - that's when they become hard and ceramic. The temperature of the kiln goes to over 1000 degrees Celsius, and then you have to wait about a day for it to cool down. Finally you can open up the kiln.
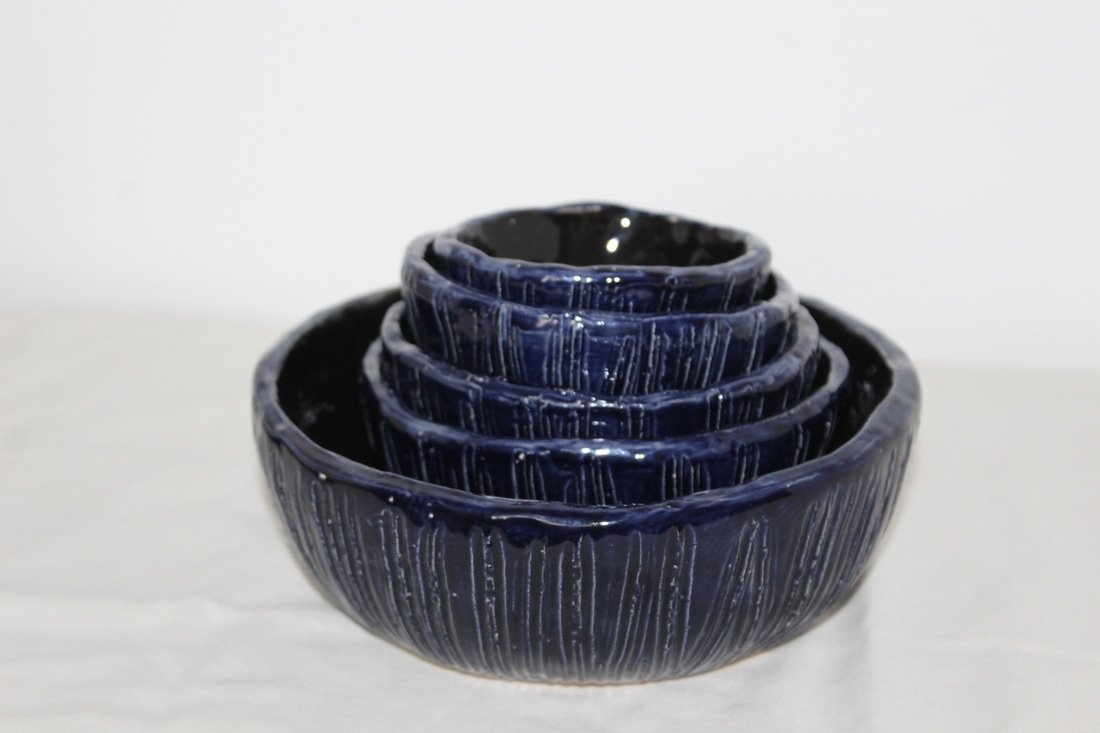
They look pretty good in there don't they? Now the glazing could begin. Glaze is like paint except that the initial colour usually bears little resemblance to the end result. The end firing turns the glaze into something like glass. We carefully glazed our pots with plenty of coats, and set the kiln going first thing in the morning. The next afternoon it was cool enough to open.
Here are our before and after pots, hopefully you can tell which is which.
Here are our before and after pots, hopefully you can tell which is which.
I took a close up of my favourite before and after as well - have a look:
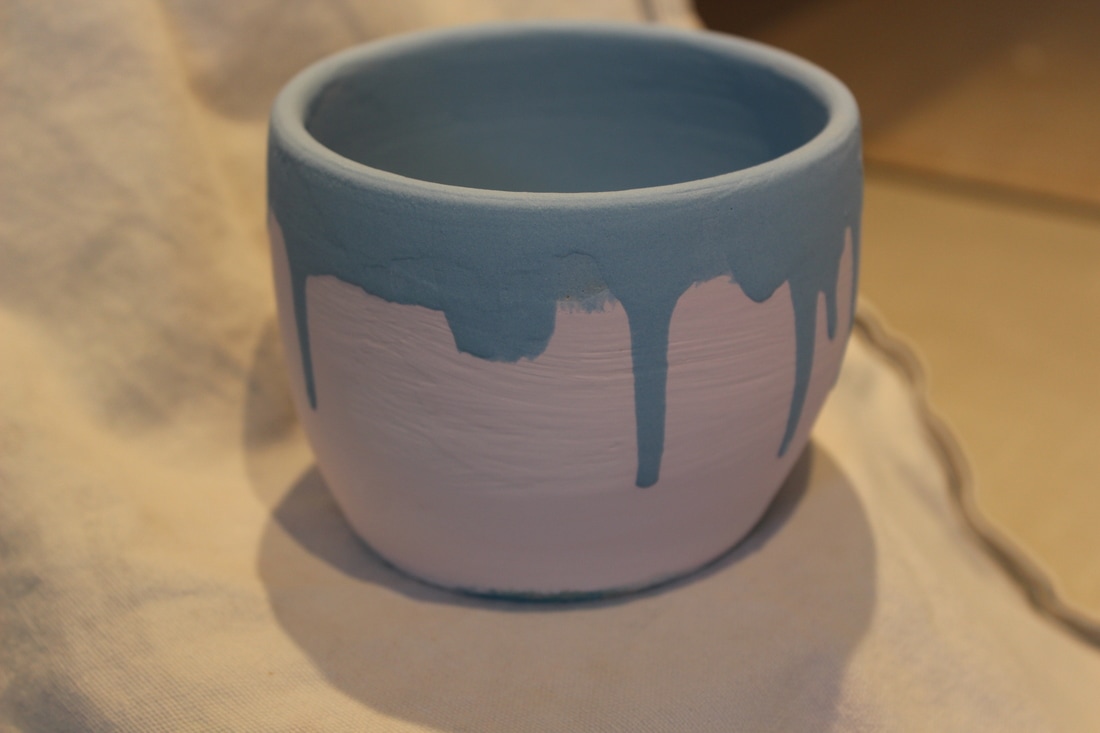

I meant the drips to be there, but its nowhere near as nice as I hoped. Still as Simon Leach says on youtube - I WILL KEEP PRACTISING.
 RSS Feed
