We've had our pottery since last May and have been trying out different sorts of clay and techniques with varied success. It's not always obvious whether we're making any progress but we thought it would be interesting to record the various stages of producing a pot.
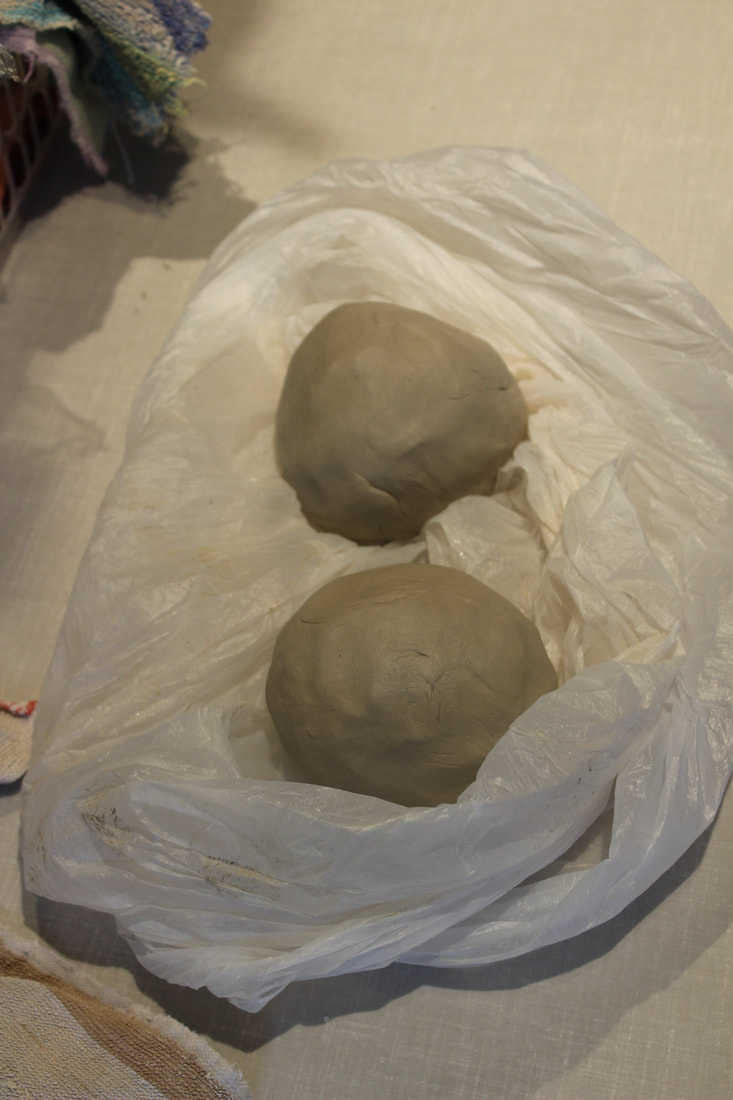
So to start with you have to wedge the clay and weigh it out. One of the things I've been disappointed with is how tiny my finished pots are - they shrink as they dry, and they shrink in the kiln. It has taken six months for me to realise it's because I'm not using enough clay in the first place; so the following pictures are of my first attempts with 2lbs of clay, and we fully expected disaster.
So to start with you have to wedge the clay and weigh it out. One of the things I've been disappointed with is how tiny my finished pots are - they shrink as they dry, and they shrink in the kiln. It has taken six months for me to realise it's because I'm not using enough clay in the first place; so the following pictures are of my first attempts with 2lbs of clay, and we fully expected disaster.

So, before getting your hands mucky it's very important to have a nice cup of tea.

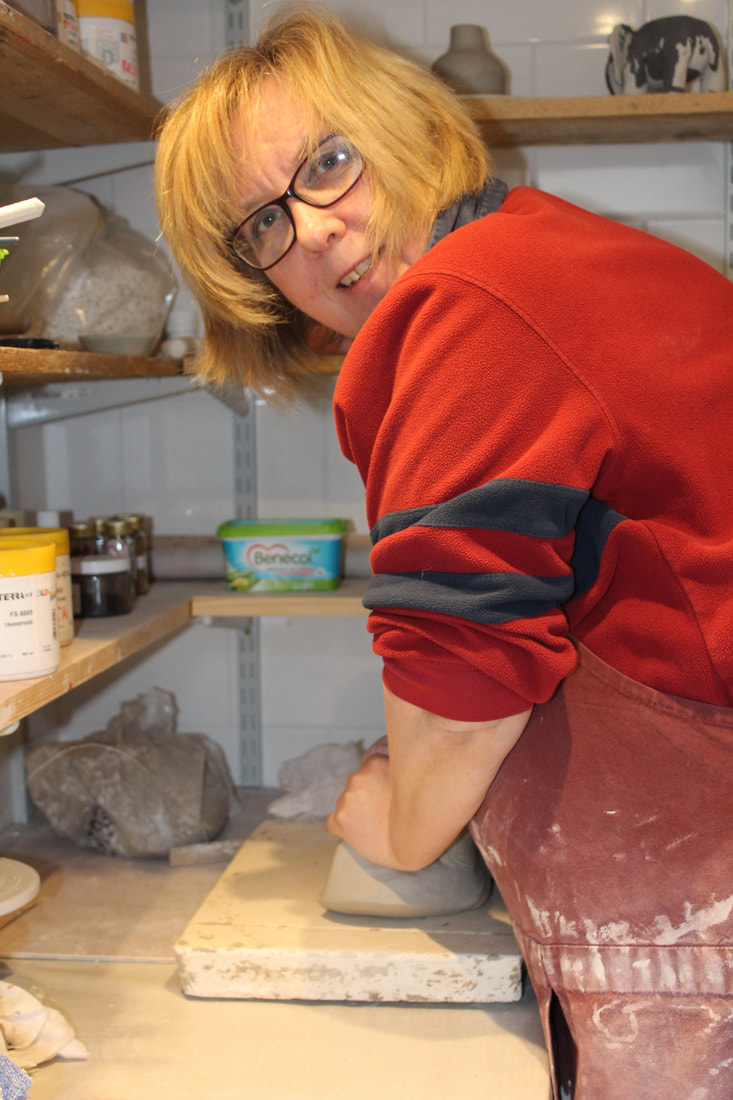
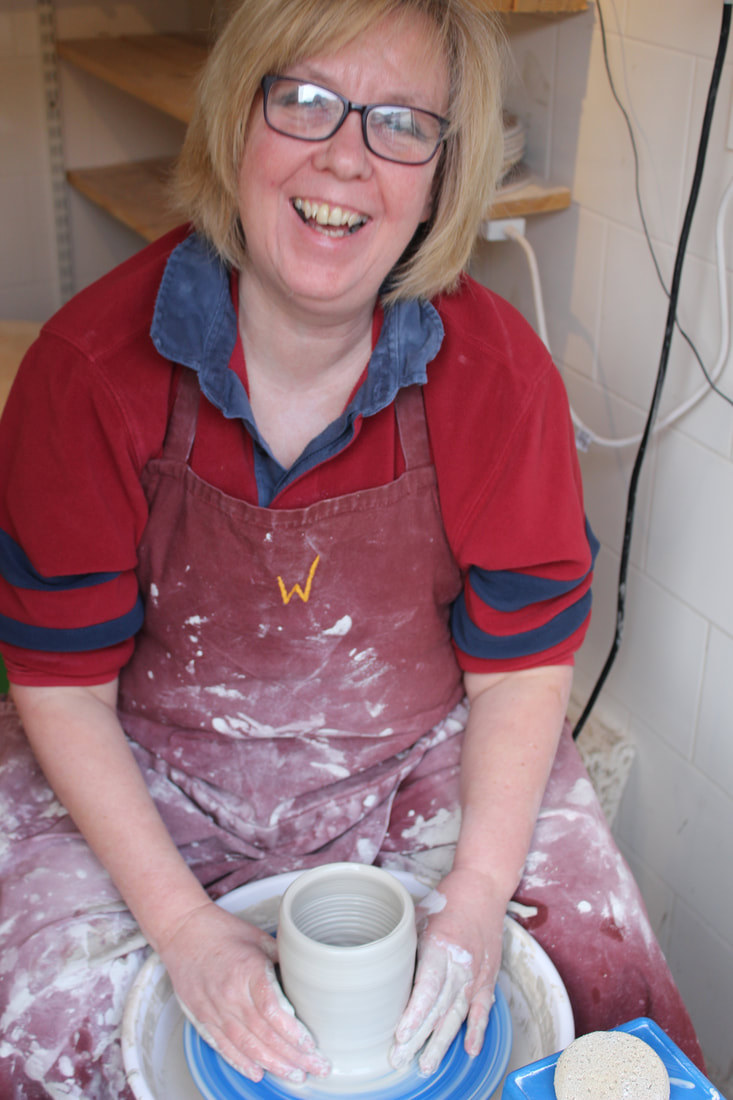
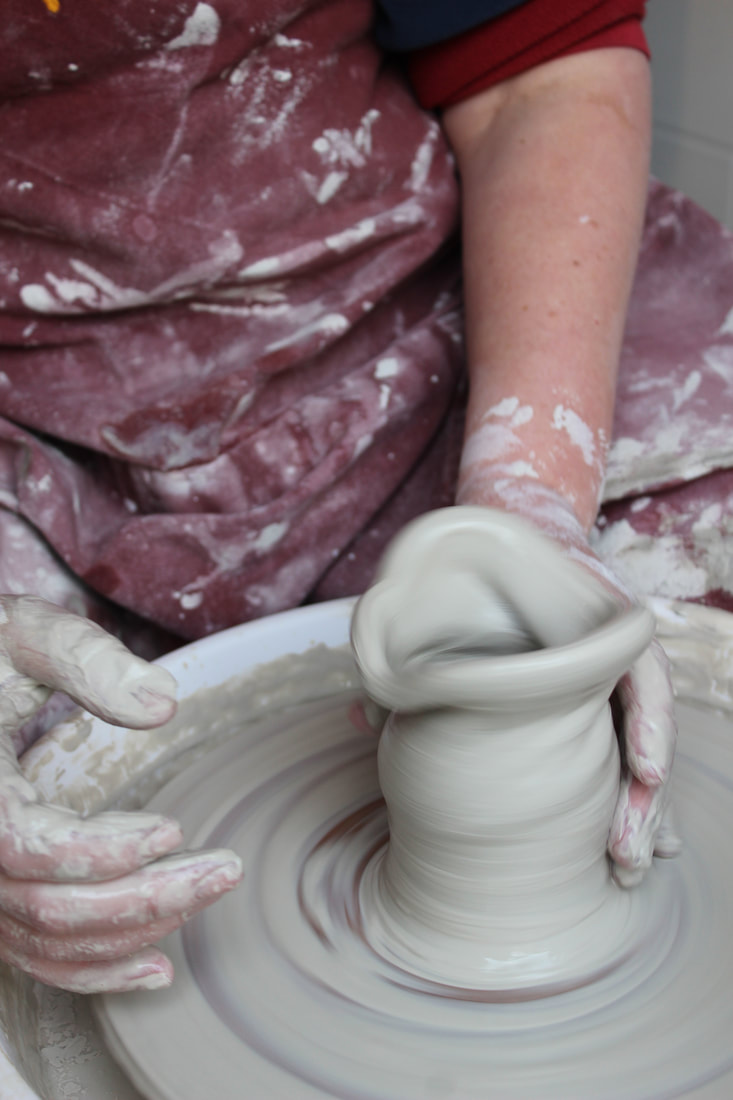
The early stages in making a pot are centring, opening the clay and getting ready for the first pull. There are a great many videos on youtube about these vital stages, and they all make it look very very easy - even when they show you what can go wrong they put it right with ease. Here are some photos of me making it look easy.

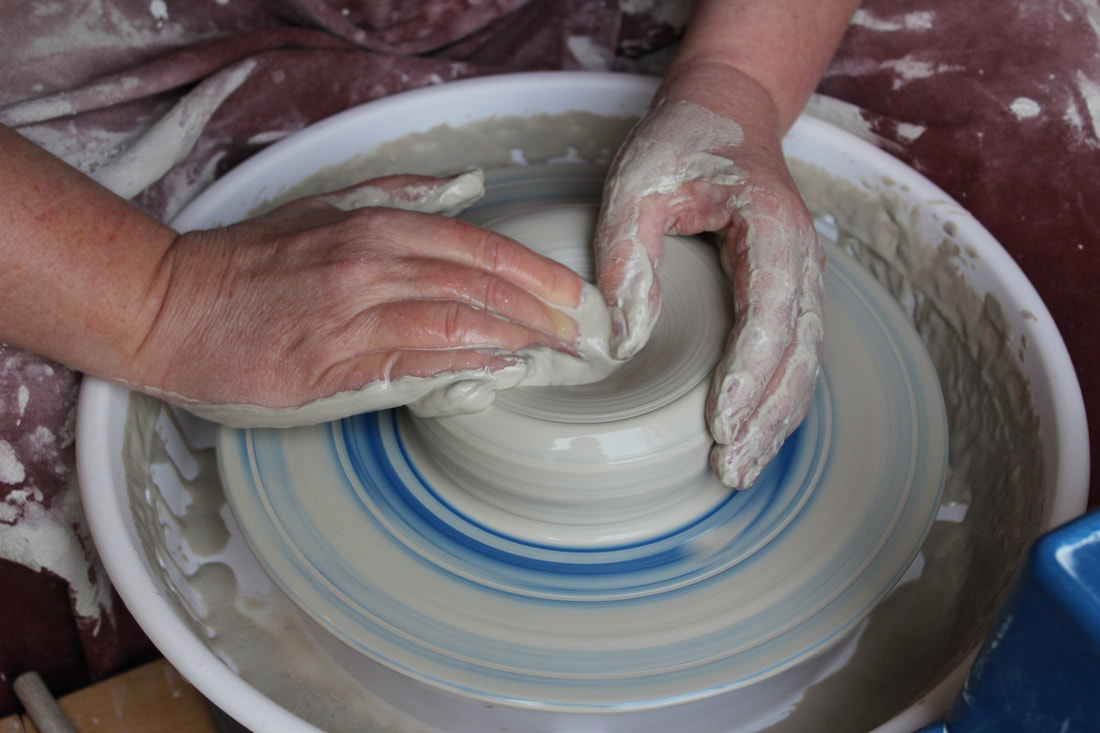
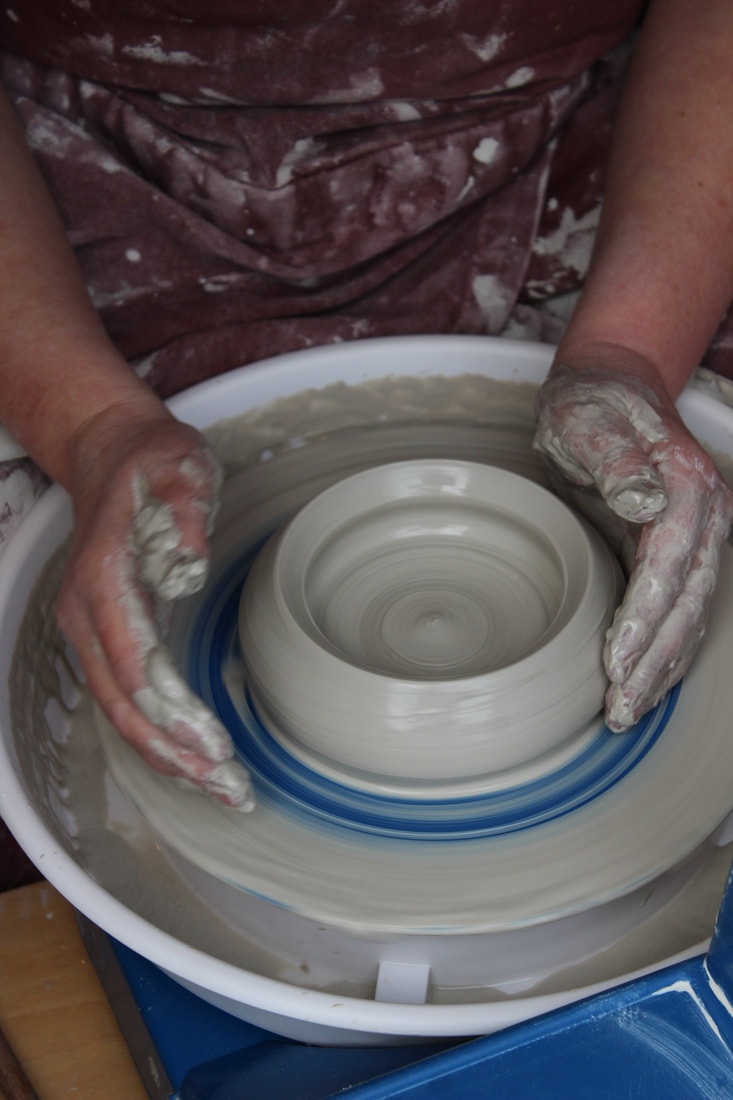
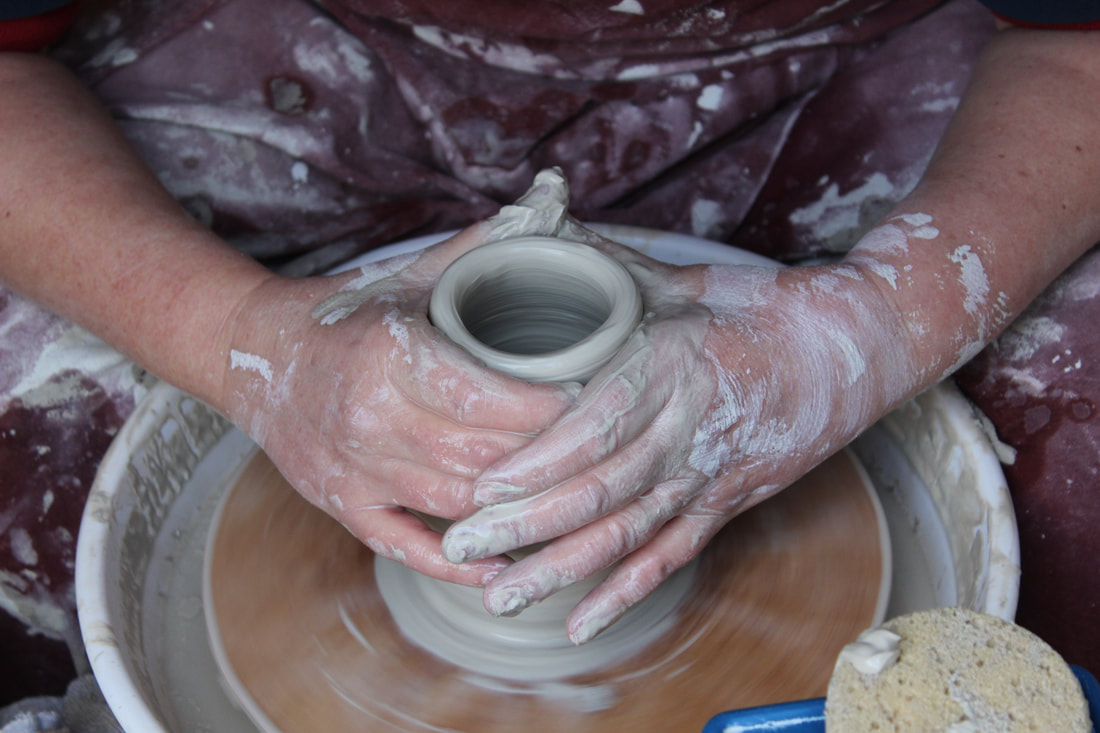
So far, so good - now to pull up into a cylinder, something I have rarely, if ever, done.
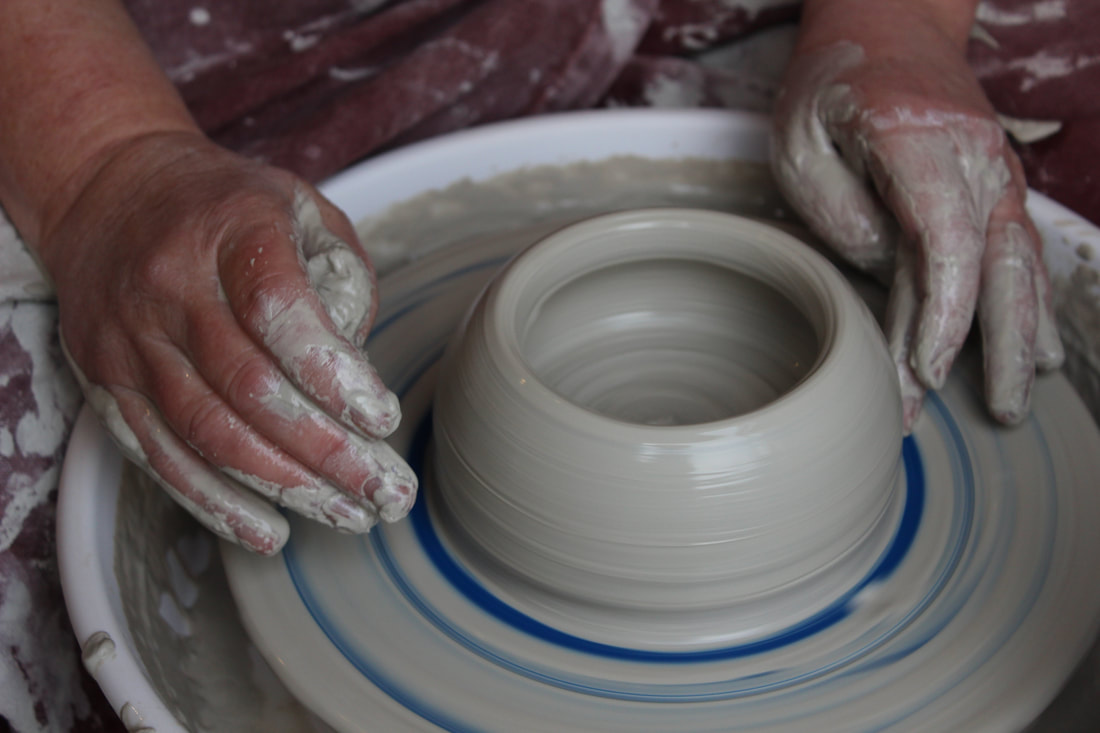
This was almost unbelievable, I had done it!
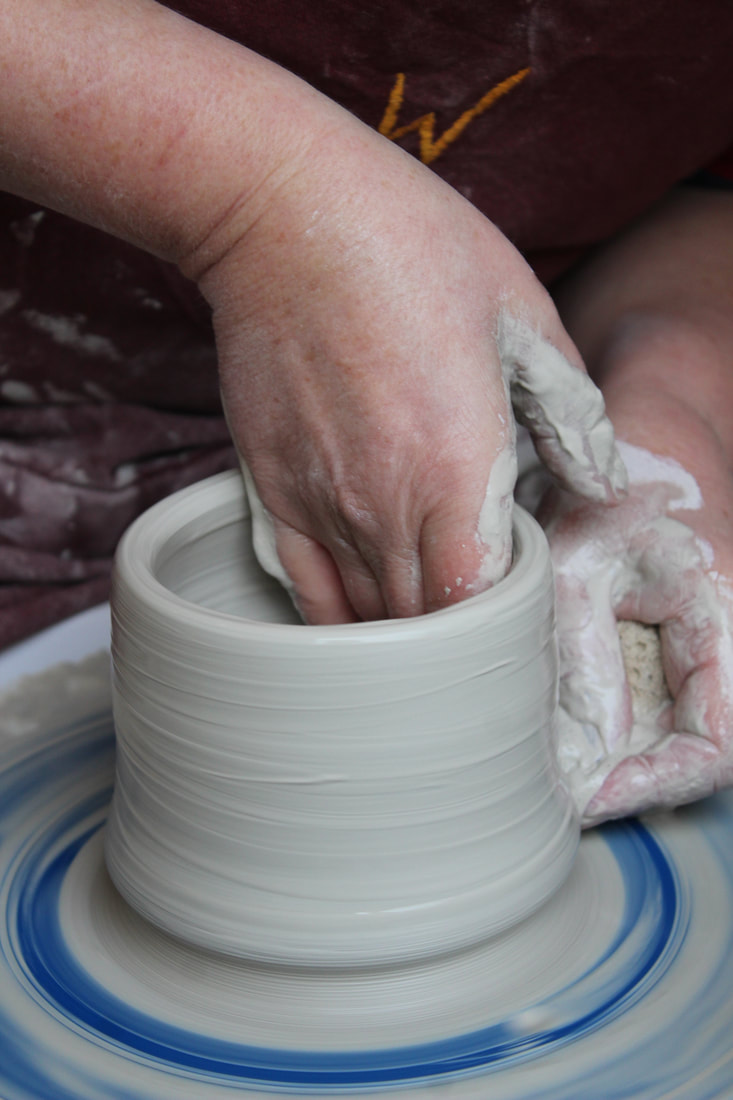
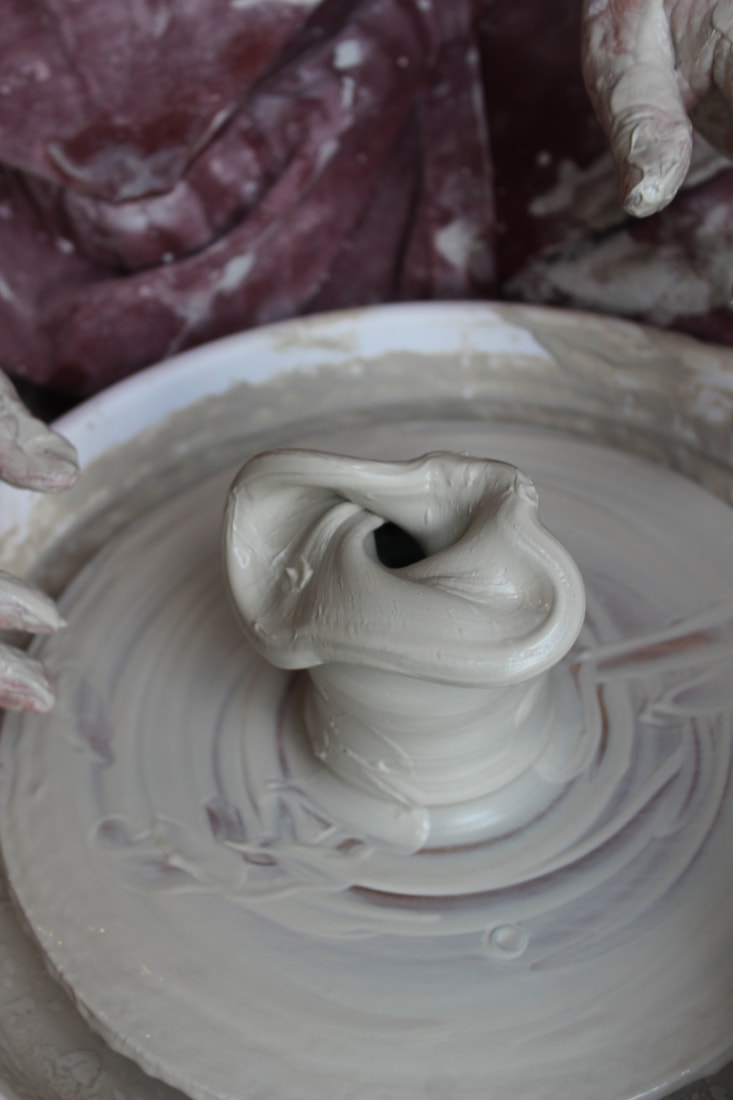
Having got some pictures of it all going right, we went for it again, and it all went right again! So I decided to be really clever and shape this one into a bottle.
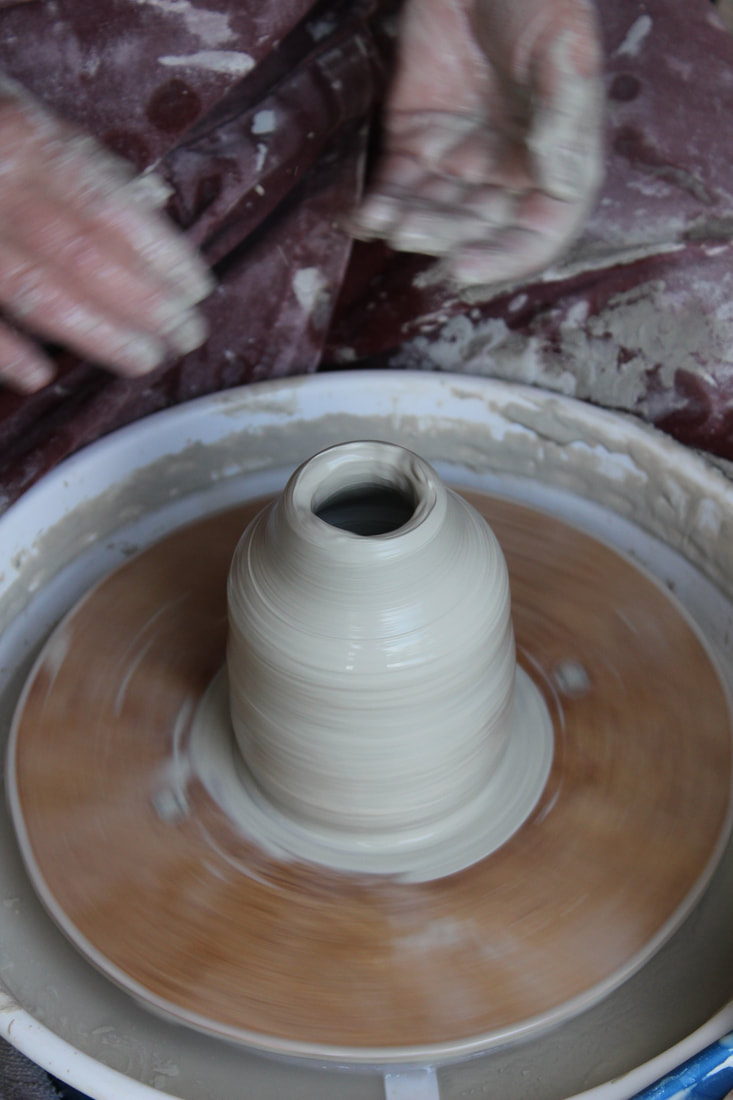

I could hardly believe it.

There have to be some pictures of a pot gone wrong, and here they are:
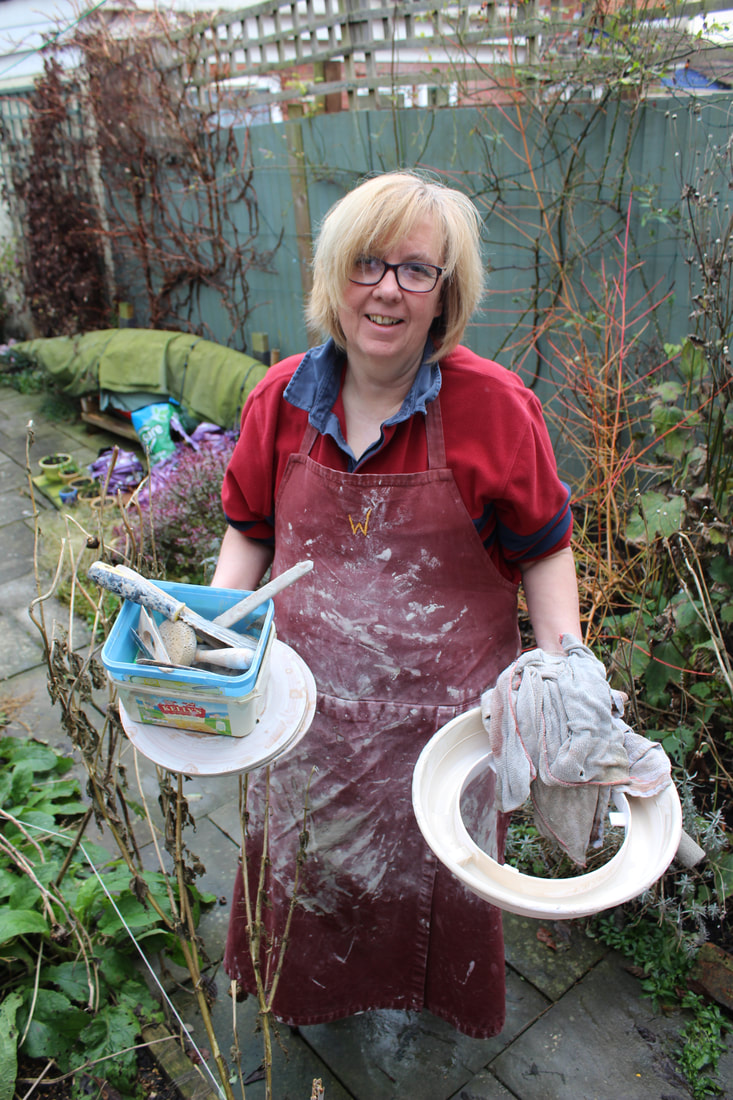
The great thing about clay is you can recycle it over and over again at any stage before firing, but it is also a very, very messy hobby. I love it.
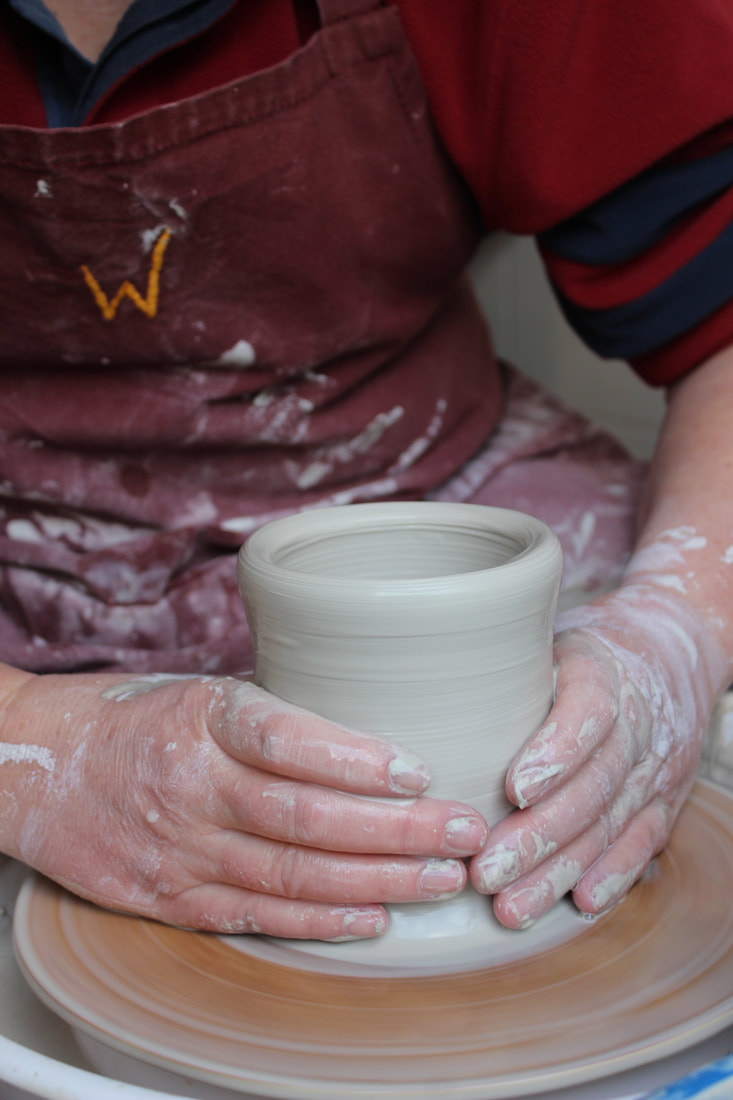
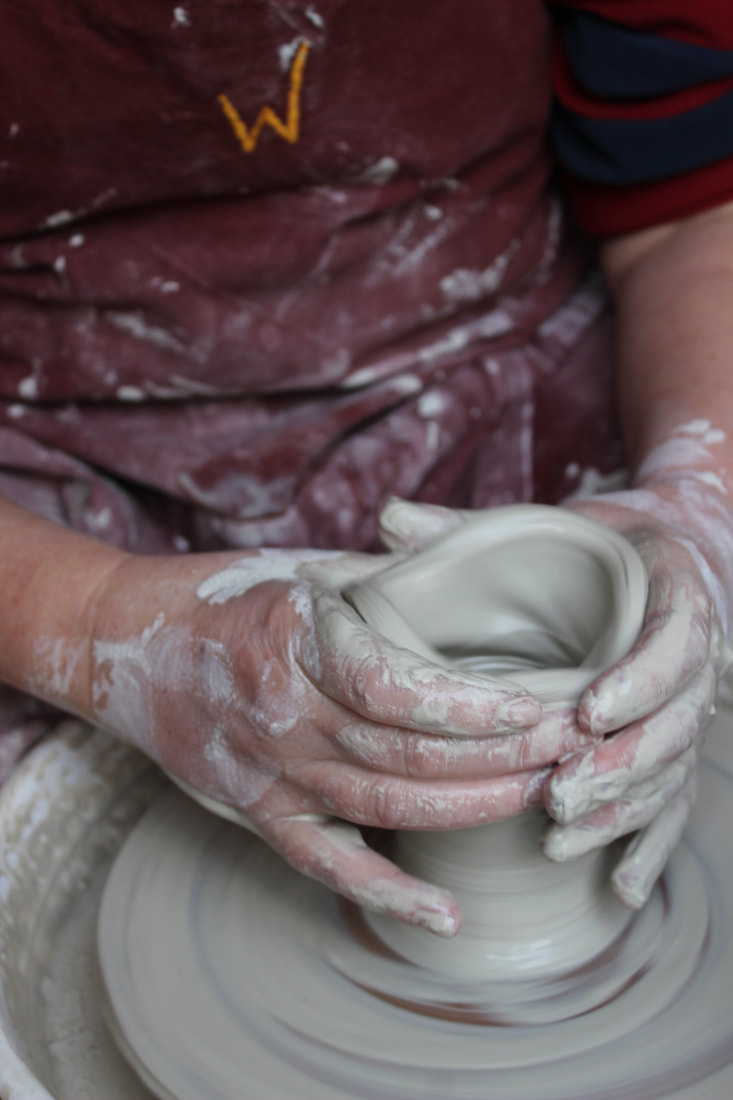
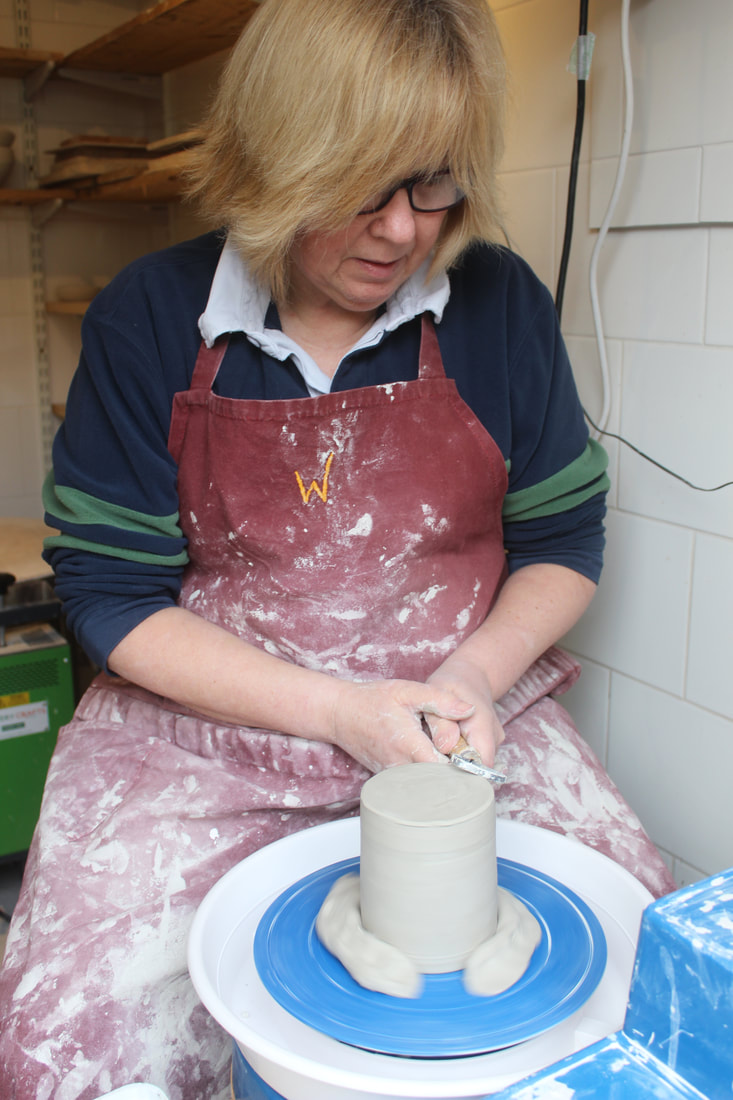
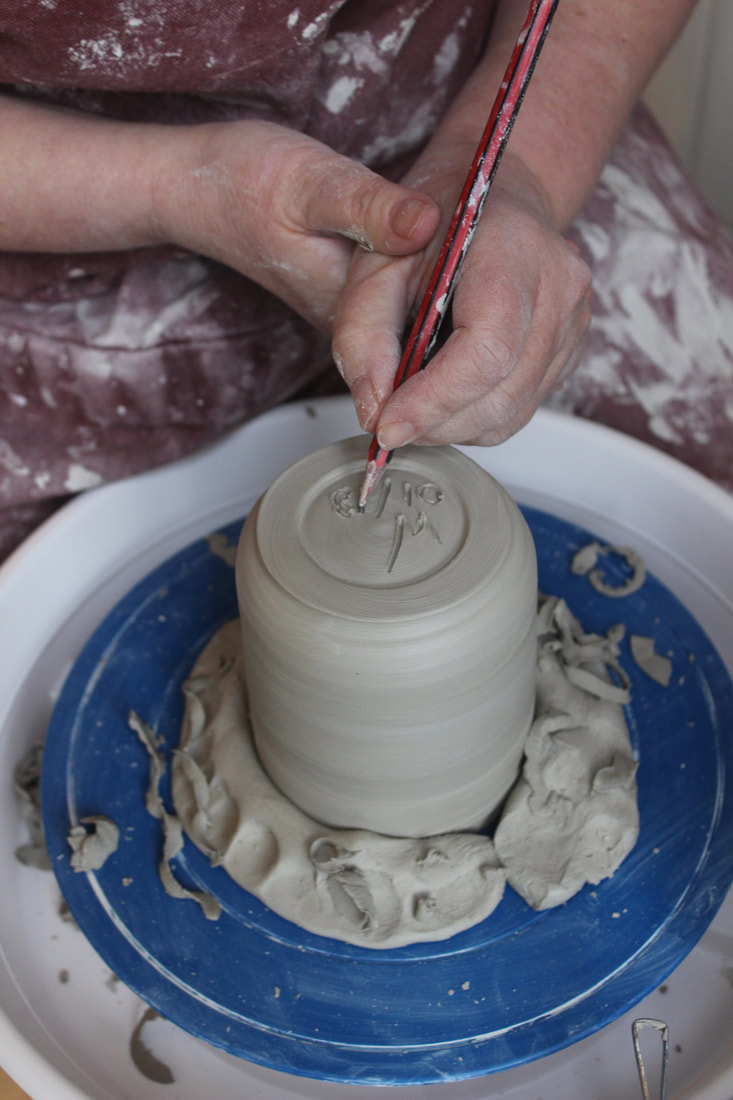
After a few days the pots are what we potters call leather hard, and so are ready to trim. This means shaving off excess clay, cutting a foot and signing the pot - because you never know, one day I might be the next Clarice Cliff.

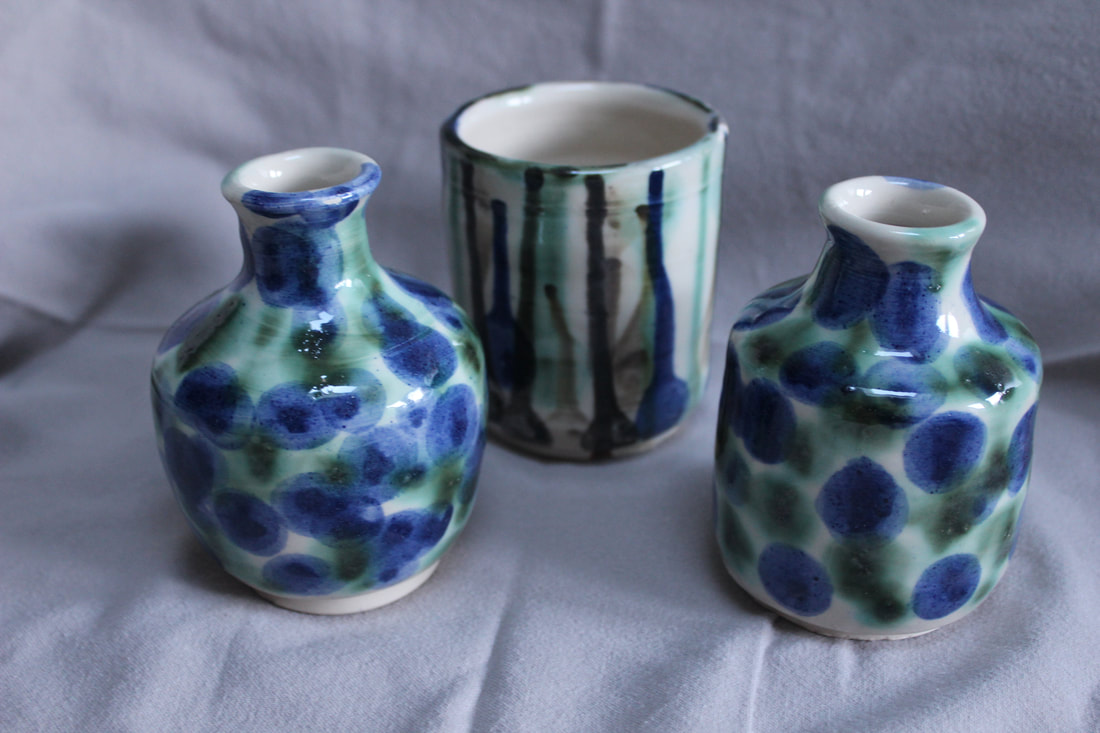
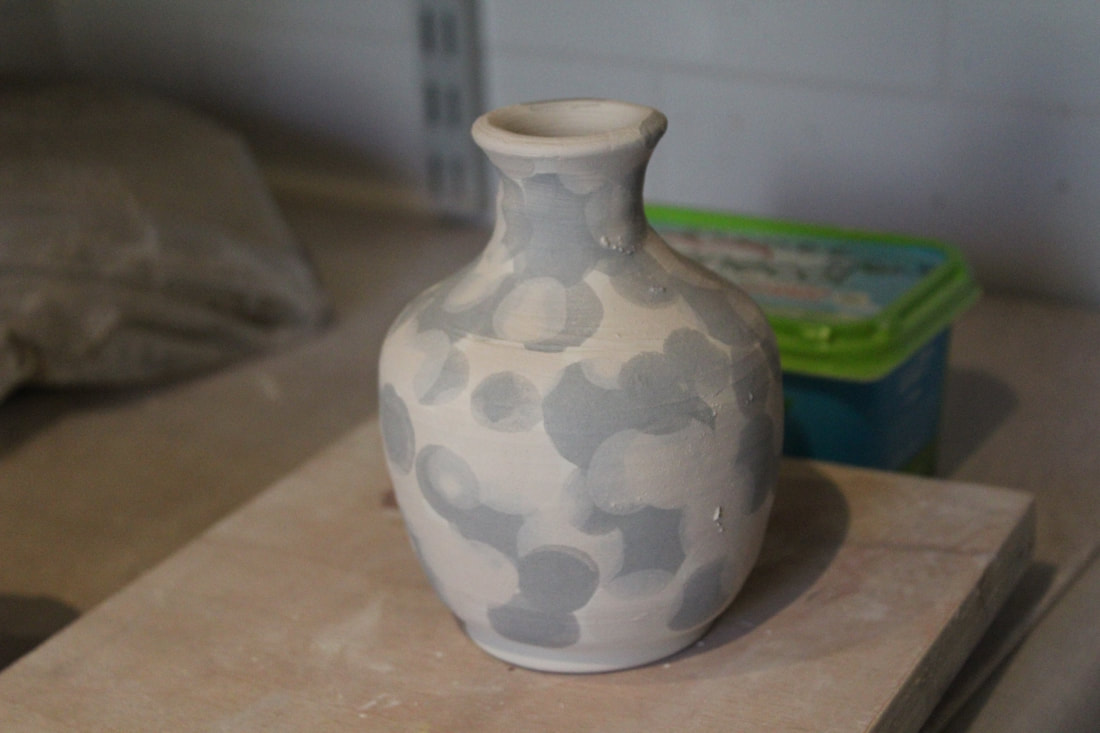
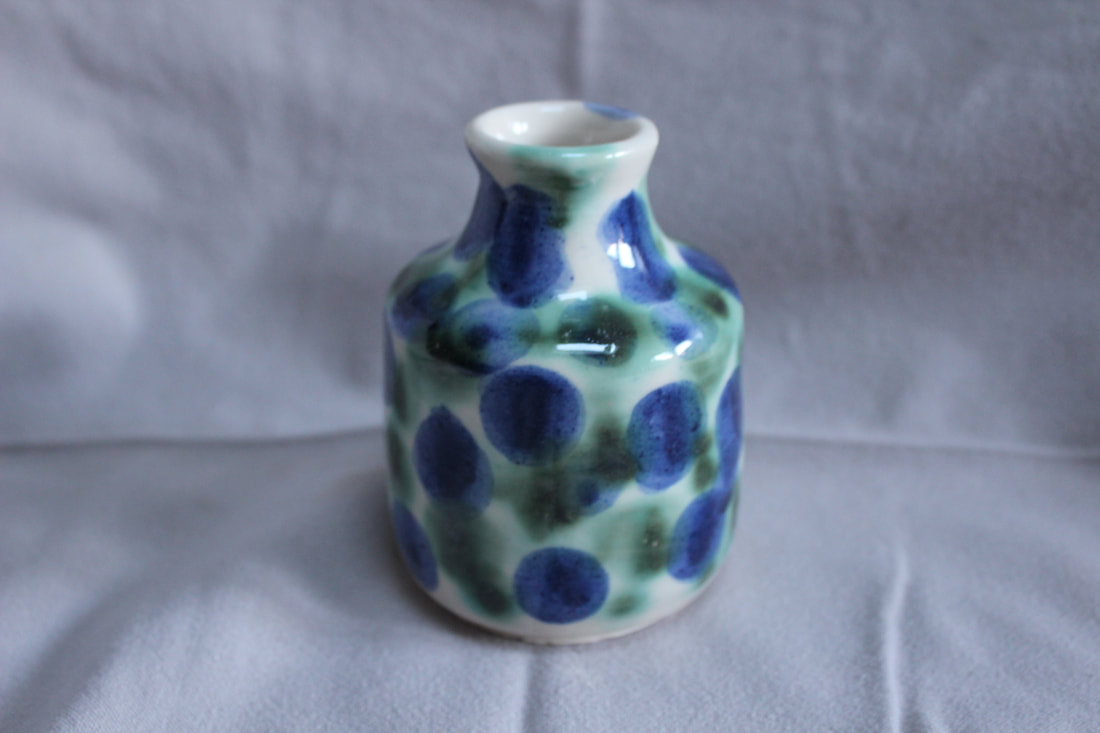
Finally the pots have to dry out completely and then they are ready for decoration and glazing. This is where the magic of the kiln comes into its own. We use stoneware clay and we fire to a temperature of 1200 Celsius. I taught chemistry in a previous life, and it is fascinating to see the effect firing has. Here is my cylinder before firing:
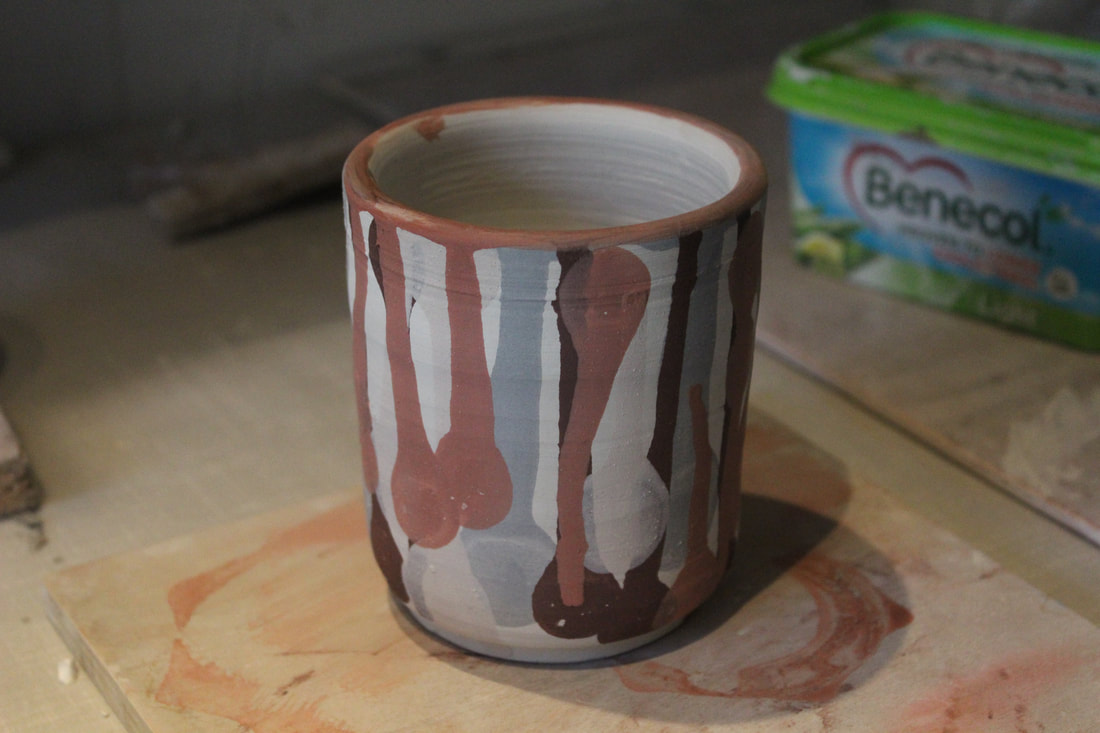
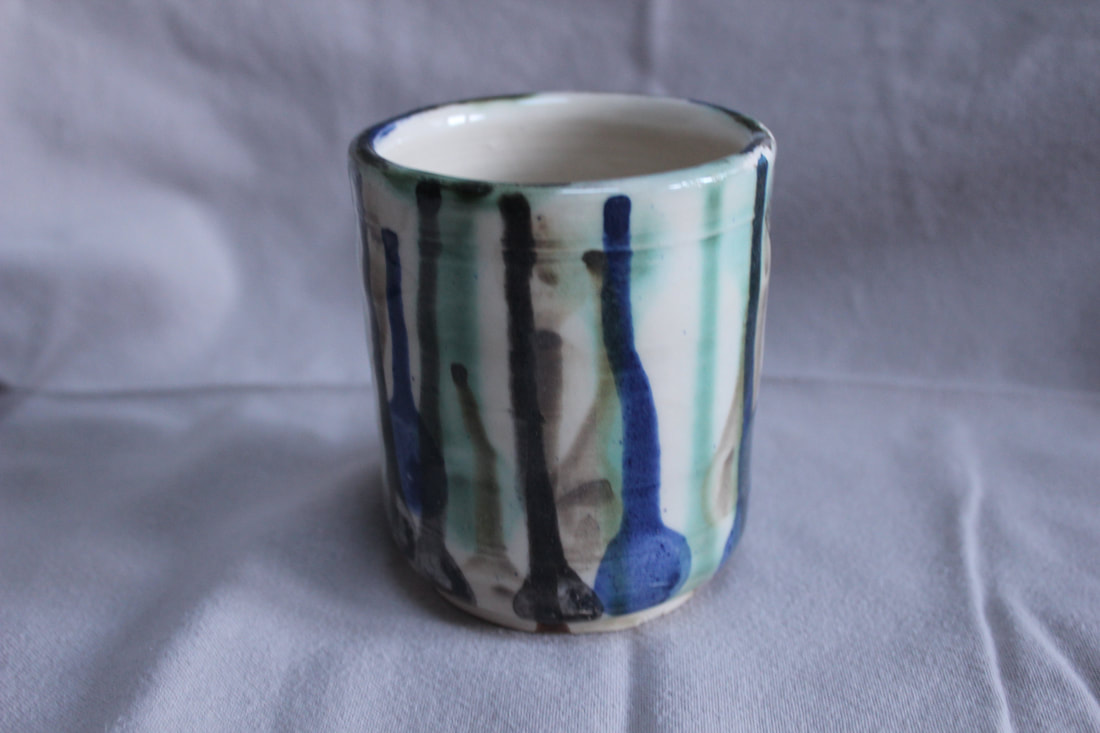
The splodges are Iron Oxide, Copper Oxide, Manganese Oxide and Cobalt Carbonate, all from my secret supplier. When in doubt, pretend you meant it, but I was really going for something like this:
And here are the finished pieces:
 RSS Feed
